Conveyor system design is the work of turning your order volume, products, and building into a conveyor layout that moves the right product to the right place at the rate you need. Before anyone draws a line of conveyor, a good conveyor system design starts with a handful of numbers about your operation, and the quality of those numbers decides the quality of the layout.
Most layouts that disappoint after go-live don’t fail because of bad equipment. They fail because the conveyor system design was built on an average day instead of the peak, on the cartons someone remembered instead of the full product range, or on today’s volume with no room for the next five years. This guide walks through the seven numbers to pin down before you ask for a layout, the math that connects them, and how they turn into a drawing you can trust.
At a glance
- Conveyor system design for cartons and totes is different from bulk material conveyor design. It’s driven by rates, product dimensions, and order flow, not belt tension and tons per hour.
- Seven numbers drive the design: peak rate, product envelope, order profile, building limits, speed and gaps, buffer time, and growth.
- Rate depends on speed and spacing: a conveyor’s capacity is its speed divided by the length of each item plus the gap behind it.
- Accumulation, merges, and sorter induction decide whether a conveyor system design hits its rate. Straight conveyor rarely does.
- A finished conveyor system design should come with a drawing, a written sequence of operation, and the assumptions it was built on.
Table of Contents
What Conveyor System Design Covers
When people search for conveyor system design, much of what they find is about bulk handling: belt widths, idler spacing, and horsepower for moving gravel, grain, or coal. Unit handling in a distribution center or fulfillment building works from a different set of questions. You’re moving discrete items (cartons, totes, polybags, cases, pallets), each with its own size, weight, and destination.
A unit-handling conveyor system design answers:
- Where product goes. The paths from receiving to storage, from storage to picking, from picking to packing, and from packing to shipping.
- How fast it has to move. The peak rate at each point in the system, in units per minute or per hour.
- Where product waits. Accumulation and buffers in front of every process that can stop or slow down.
- Where decisions happen. Merges, diverts, scanners, and sorters, and the controls that run them.
- How it fits the building. Floor space, clear height, columns, dock doors, mezzanines, and the aisles people and forklifts need.
The output is a layout drawing plus the logic behind it. Century’s system design service delivers AutoCAD blueprints, with the final approved drawing included in the project proposal, and keeps the same engineers, sales contact, and project manager from first concept through go-live.
Number 1: Peak Throughput Rate
The most important number in any conveyor system design is the rate the system has to handle at its busiest, not on an average day.
Start with units per hour at peak, measured at each major point: cartons received, totes released to picking, orders packed, and cartons shipped. A building that ships 20,000 cartons in a 10-hour day averages 2,000 an hour, but if half of those cartons have to leave in the last three hours before the carrier pulls, the shipping sorter needs to handle far more than 2,000 an hour during that window.
Questions to answer:
- What is the peak day of the year, and what is the peak hour within it?
- How many shifts run, and how many hours does each process actually work?
- Are there carrier cutoffs, wave releases, or store delivery windows that compress the work?
- How much of the volume is seasonal, and do you plan to staff up or build capacity for it?
Use real data from your WMS or order history if you have it. If you design to the average, the system will look fine on paper and back up every afternoon.
Number 2: The Product Envelope
The second number is really a set of numbers: the smallest, largest, lightest, and heaviest items the conveyor will carry, plus anything unusual about them.
- Dimensions. Minimum and maximum length, width, and height. Short items can fall between rollers or stall at transfers. Long items need wider curves and longer zones.
- Weight. The lightest items need to trip photo eyes and travel on belts without slipping. The heaviest items set roller capacity, drive sizing, and frame spacing.
- Bottom surface. Flat, rigid bottoms convey well on roller. Soft bottoms, polybags, open-flap cartons, and items with ribs or feet often need belt or a tray.
- Mix and share. What percentage of volume falls into each size group? A conveyor system design can treat oversize items as exceptions if they’re 2% of volume, but not if they’re 30%.
- Non-conveyables. Items that can’t ride conveyor at all need their own path, and the layout should show it.
Century’s information sheet at the start of a project asks for carton minimums and maximums for exactly this reason, as its post on how a warehouse automation project unfolds explains. Bring samples of the worst items you ship. The tallest, lightest, and slickest products usually decide the equipment.
Number 3: Order Profile
In conveyor system design, how orders are built decides where product flows and how many times it stops. Pull these from your order history:
- SKU count and how picks spread across them (a small group of fast movers versus a long tail).
- Lines per order and units per line. Single-line orders can skip consolidation; multi-line orders usually can’t.
- Orders per day and how they arrive (steady, in waves, or in a few big drops).
- Order types: e-commerce, store replenishment, wholesale, and returns often need different paths in the same building.
- Value-added steps: inserts, kitting, inspection, or compliance labeling.
The order profile drives choices like zone routing, pick-to-light, batch picking with a sorter, or goods to person. It also tells you how many totes are traveling at once, which sets the size of the tote loop and the return path for empties.
The HD Smith distribution center Century worked on is a good example of designing around order profile. Its goal was to double primary pick locations from 15,000 to 30,000, so the conveyor control system routes each order tote only to the pick zones it needs, instead of sending every tote past every zone.
Number 4: Building Limits
The building sets the boundaries every conveyor system design has to live within. For conveyor system design, capture:
- Floor plan with column locations and spacing, dock doors, fire exits, and existing equipment. A current CAD drawing of the building is one of the most useful things you can give an integrator.
- Clear height under joists, sprinklers, lights, and ductwork. This decides whether conveyor can run overhead and whether a mezzanine is possible.
- Floor condition and load capacity, especially for mezzanines, rack-supported structures, and heavy sorters.
- Electrical service and available voltages, plus where panels can go.
- Ambient conditions such as temperature, dust, and washdown needs, which affect motors, belts, and electronics.
- Aisles and egress. Forklift routes, pedestrian paths, crossovers, and emergency exits.
OSHA’s general rule for material handling requires sufficient safe clearances for aisles, at loading docks, through doorways, and wherever turns or passage must be made where mechanical handling equipment is used (29 CFR 1910.176(a)). Conveyor that blocks a needed aisle or exit will have to move, so plan crossovers, gates, or overhead runs at the start. Century’s design team builds service egress and worker safety into the facility size review for the same reason.
Number 5: Conveyor Speed and Gap Math
Once you know the rate, conveyor system design moves to the speed and spacing needed to deliver it. The basic relationship is simple:
Items per minute = conveyor speed (feet per minute) ÷ (item length + gap, in feet)
As an illustration only, here’s what a single line can deliver at different speeds with an 18-inch carton and a 12-inch gap (2.5 feet per item):
| Speed | Item pitch | Items per minute | Items per hour (theoretical) |
|---|---|---|---|
| 60 FPM | 2.5 ft | 24 | 1,440 |
| 120 FPM | 2.5 ft | 48 | 2,880 |
| 180 FPM | 2.5 ft | 72 | 4,320 |
Three things make the real number lower than the theoretical one:
- Gaps aren’t perfect. Product arrives in clumps from picking and packing. Unless something creates consistent gaps (belt sections running faster, metering belts, or zone release logic), you won’t hit the table’s numbers.
- Every merge takes capacity. When two lines feed one, the combined flow has to fit within the downstream line’s capacity, with room for the merge logic to find openings.
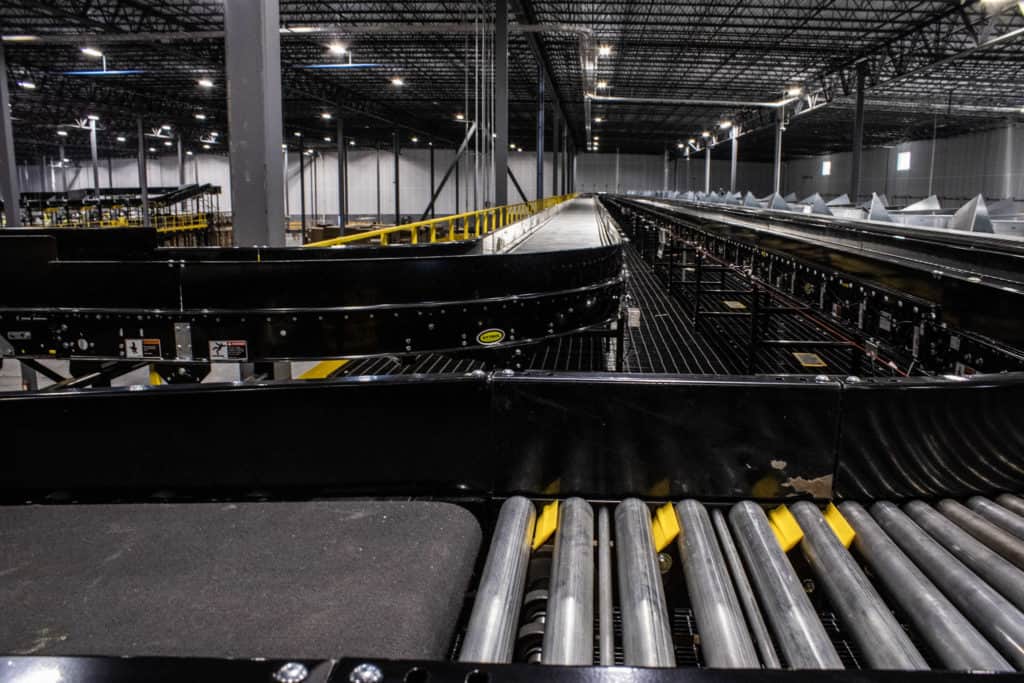
- Scanners and sorters need room. Barcode scanners need product spaced and oriented to read labels. Sorters are rated for a maximum speed or number of items per minute, and induction has to deliver steady, gapped product to use that rating. Century’s shipping and sortation page lists typical ratings by sorter type, such as sliding shoe sorters up to 650 FPM and narrow belt sorters up to 350 FPM.
Designers usually plan each line to run well below its theoretical maximum so it can catch up after a stoppage. How much headroom to leave is a judgment call for your integrator.
Number 6: Buffer Time and Accumulation
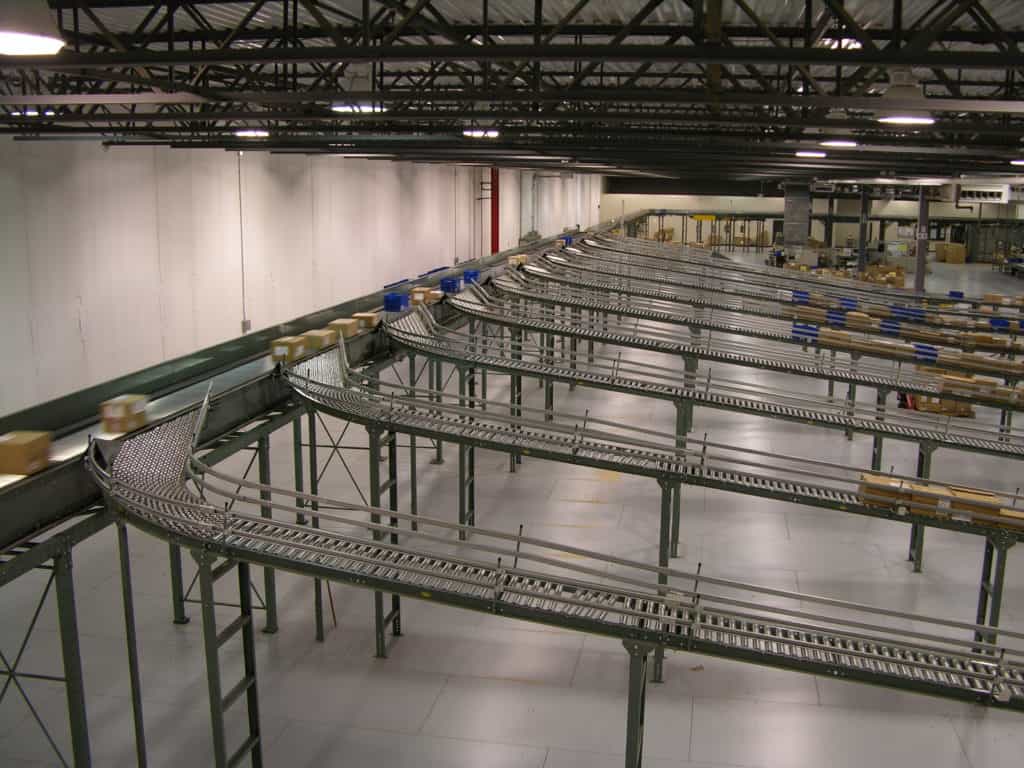
Every process in a building stops sometimes: a packer steps away, a printer jams, a trailer isn’t at the door, a sorter faults. The question your conveyor system design has to answer is where product waits when that happens, and for how long.
Think in minutes of buffer, not feet of conveyor. If a pack station handles 10 cartons a minute and you want three minutes of cushion in front of it, you need room for 30 cartons. Convert that to length using the carton size, and you have the accumulation the design needs at that point.
Places that almost always need buffer:
- In front of pack stations, print and apply, and sealers.
- Before merges and sorter induction.
- Before inclines feeding mezzanines or overhead lines.
- At the end of shipping lanes, where trailer loading sets the pace.
Zero-pressure accumulation holds each item in its own zone so product doesn’t push against product. Our accumulation conveyor guide explains zero-pressure and minimum-pressure accumulation and how to choose between them.
Recirculation is another kind of buffer. At the AmerisourceBergen distribution center in Thorofare, New Jersey, Century’s system includes a full-line photo eye on each shipping dispatch line. When a line gets too full, orders are sent to a recirculating conveyor loop until the congestion clears, instead of stopping the whole system. Read the AmerisourceBergen story.
Number 7: Growth Horizon
The last number is how far ahead the design should look. A conveyor system design that fits today’s volume exactly will be tight in a year and out of capacity in three.
- Pick a planning horizon. Many operations plan for the volume they expect several years out, then decide which parts to build now and which to leave space for.
- Size the backbone of the conveyor system design for the future. Main transport lines, sorters, and controls are expensive to replace. It often makes sense to buy capacity there and add pick zones, pack stations, or sort lanes later.
- Reserve space. Leave floor, mezzanine, and overhead space for future lines, and show it on the drawing so it doesn’t get filled with racking.
- Plan controls for expansion. Panel space, network capacity, and software licenses that can grow without a full replacement.
Century’s design service plans for facility additions such as mezzanines, rack-supported structures, and future lines as part of sizing the building. The AmerisourceBergen system shows what that looks like years later: its systems manager said the operation “could easily handle double the current volume,” mostly by adding people.
How the Seven Numbers Become a Layout
With the numbers in hand, conveyor system design follows a fairly consistent path.
- Map the flow. Draw the path for each product and order type from receiving to shipping. Mark every point where product changes direction, waits, merges, or gets sorted.
- Assign rates to every segment. Put the peak rate on each line and each process. This is where bottlenecks show up on paper.
- Select equipment for each segment. Belt or roller, gravity or powered, MDR or line shaft, accumulation type, incline or spiral, sorter type. The product envelope narrows the choices; the rate picks among them.
- Fit it into the building. Route around columns, doors, and aisles. Decide what runs on the floor, what runs overhead, and what goes on a mezzanine.
- Design the controls. Define photo eyes, scanners, diverts, zones, e-stops, and the sequence of operation. Decide what the PLC handles and what a warehouse control system handles.
- Check it. Walk the drawing against peak volume. For complex systems, simulation or emulation tests the logic before steel is ordered.
- Revise. Expect several rounds. Century’s post on the automation process notes that a drawing may go through many revisions before a conveyor system design is settled. Century’s record is 97.
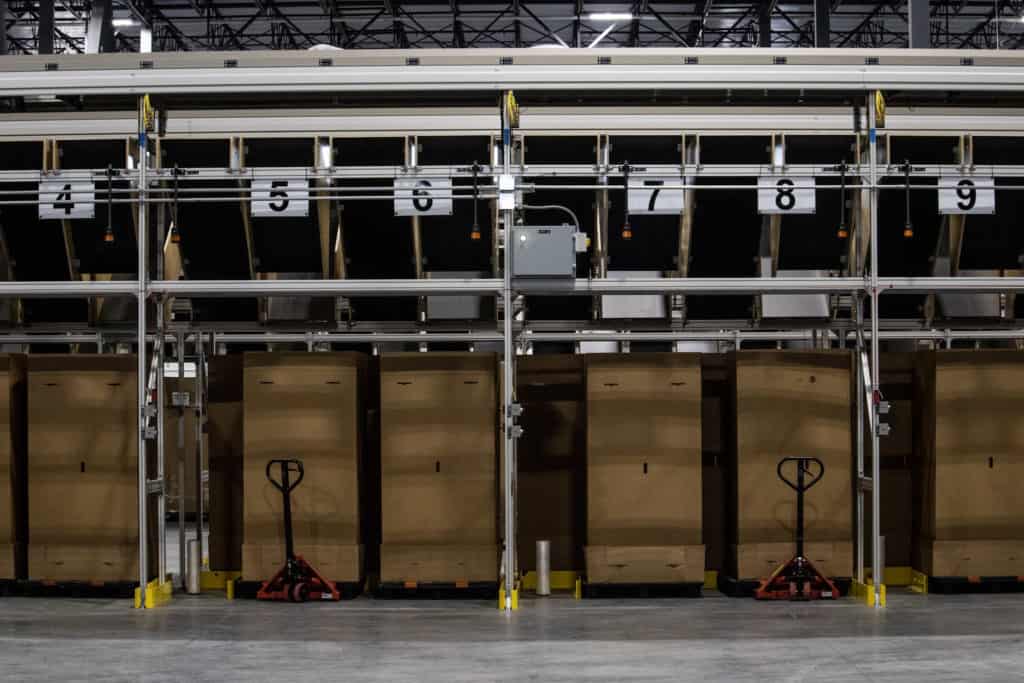
Barnes & Noble’s 1.2 million square foot distribution center shows how far this can scale. Century integrated more than 13 miles of conveyor through receiving, replenishment, picking, packing, and shipping. A 380-foot shoe sorter at receiving sorts at rates up to 140 cartons per minute, scanner-directed diverters send cartons only to the pick zones that need them, and a tilt-tray shipping sorter handles up to 170 cartons per minute to the doors. Every one of those rates traces back to the kind of numbers above. Read the Barnes & Noble story.
Common Conveyor System Design Mistakes
- Designing to the average day. A conveyor system design built on average volume works in March and backs up in November.
- Ignoring the worst product. One carton size that jams at every transfer can cut the rate of the whole line.
- No place for product to wait. Without buffer in front of slow or variable processes, one stop becomes a building-wide stop.
- Underestimating merges. Two lines at 60% each don’t fit into one line at 100%.
- Forgetting people. Pack stations, maintenance access, crossovers, and egress need space too.
- Treating controls as an afterthought. The sequence of operation decides how the system behaves at peak. It belongs in the design, not after installation.
- No growth plan. A layout with no reserved space forces a redesign the first time volume grows.
Safety Built Into the Design
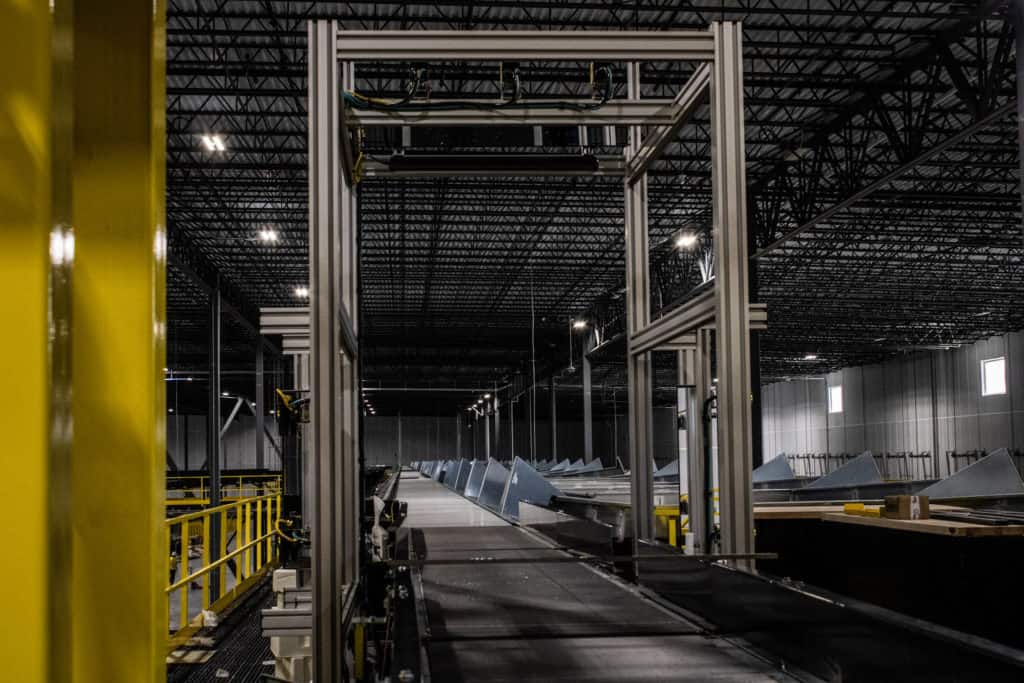
Safety is cheapest to get right on the drawing. A good conveyor system design shows guarding at pinch points and drives, emergency stop locations along every line, crossovers and gates where people need to pass, and protection under overhead conveyor where people walk. OSHA’s machine guarding rule, 29 CFR 1910.212, applies to conveyor hazards, and ASME B20.1 is the safety standard for conveyors and related equipment. CEMA, the Conveyor Equipment Manufacturers Association, publishes guidance and safety labels for conveyor equipment.
Our conveyor safety guide covers guarding, e-stops, pull cords, and lockout in more detail.
This guide is general information, not engineering or legal advice. Have your layout, loads, controls, and safety design reviewed by qualified engineers for your building and local codes.
What to Bring to a Design Conversation
You don’t need every answer to start, but the more of this you bring, the faster an integrator can give you a conveyor system design worth reviewing:
- A current CAD drawing of the building, with columns, doors, and clear heights.
- Peak and average volumes by process, ideally a year of order data.
- Product dimensions and weights, with samples of the hardest items.
- Order profile: SKU count, lines per order, units per line, order types.
- Hours of operation and carrier or delivery cutoffs.
- Existing equipment you want to keep, and its condition.
- Your growth expectations and budget range.
- How the work has to happen around live operations.
That last point matters for existing buildings. Simon & Schuster’s Riverside, New Jersey distribution center upgraded in two phases with Century, shipping first and then picking, with minimal downtime. Phasing like that has to be part of the conveyor system design from the start. Century’s project phasing service plans the sequence so a building keeps shipping while the new system goes in.
What is conveyor system design?
Conveyor system design is the process of turning your volumes, products, order profile, and building into a conveyor layout, equipment list, and control plan that moves product at the rate you need. For distribution centers, it covers paths, speeds, accumulation, merges, sortation, and controls.
What information does an integrator need to design a conveyor system?
At minimum: a building drawing, peak and average volumes, product dimensions and weights, your order profile, hours of operation, and what existing equipment you want to keep. Samples of your hardest-to-convey products help.
How do you calculate conveyor throughput?
Divide the conveyor speed in feet per minute by the length of each item plus the gap behind it. An 18-inch carton with a 12-inch gap at 120 feet per minute gives 48 cartons per minute in theory. Real throughput is lower because of uneven gaps, merges, and stops.
How much accumulation conveyor do I need?
Decide how many minutes of buffer each process needs, multiply by its rate, and convert the number of items to length. Three minutes of buffer in front of a 10-carton-per-minute pack station means room for about 30 cartons.
How long does conveyor system design take?
It depends on the size of the system and how quickly you can provide data and approve revisions. Design is one part of a full project. Century’s typical project timeframe is about six months from start to finish.
Is conveyor design for bulk materials the same as for cartons?
No. Bulk conveyor design focuses on belt tension, idlers, and tons per hour of loose material. Carton and tote conveyor system design focuses on unit rates, product dimensions, accumulation, merges, scanning, and sortation.
Do I need simulation for a conveyor system design?
Not always. Simple point-to-point lines can be checked with rate math. Systems with many merges, sorters, recirculation, or tight peaks benefit from simulation or emulation that tests the layout and controls logic before equipment is ordered.
Start With the Numbers
A conveyor system design is only as good as the numbers it’s built on. Get the peak rate, product envelope, order profile, building limits, speed and gaps, buffers, and growth horizon right, and the drawing becomes a tool you can trust instead of a guess.
Century Conveyor has been designing, installing, and supporting conveyor systems since 1981, and its stated mission is to provide an efficient system, not to sell the most expensive one. If you’re planning a new building, an expansion, or a redesign of a system that’s run out of room, explore Century’s system design services or contact our team to talk through your numbers.